Estimating Training and Software
Estimating construction projects accurately is critical if you want your construction business to be profitable. We offer an online estimating training course as well as books and estimating software to make the process easier.
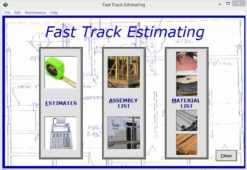
Our book, Estimating Construction Profitably walks through the estimating process detail by detail, including how to estimate labor. Our Fast Track Estimating software programs help estimate a project quickly; Fast Track Job Costing tracks your accuracy so you can apply the appropriate error factor to future estimates while you improve your estimating skills and reduce that error factor.
Business/Sales/Estimating Books
Price range: $10.95 through $36.95
This product has multiple variants. The options may be chosen on the product page